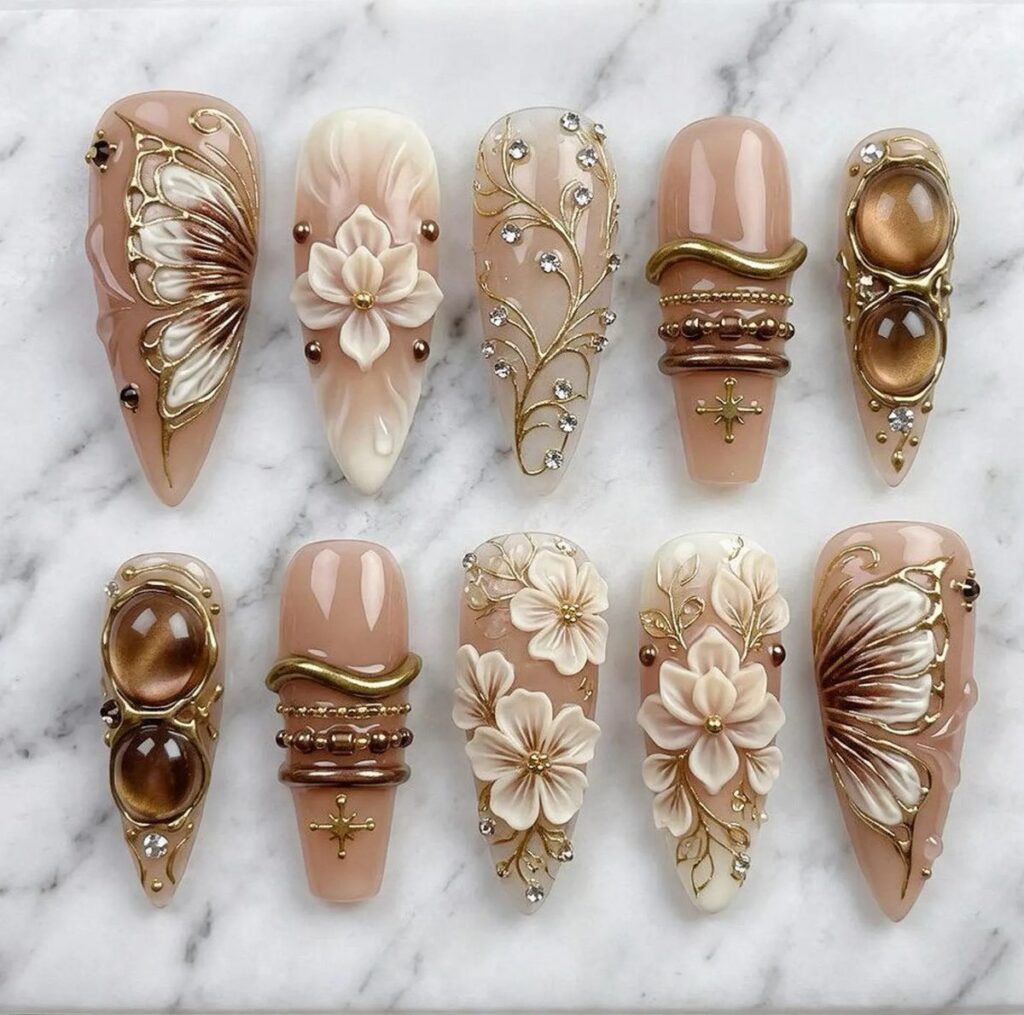
If we had to keep only one design and retire the rest, it would be this one. A sheer caramel almond base, three sculpted white flowers standing off the nail, a pair of hand-painted gold butterfly wings and two amber glass charms. It is the set people describe to us from memory, and it is the set we have rebuilt more times than any other.
Before you read on
As an Amazon Associate I earn from qualifying purchases. Retailer links in this article are affiliate links and cost you nothing extra. We only link to tools we use or would genuinely buy. Full wording on our affiliate disclosure page.
What a sculpted gel flower actually is
A sculpted flower is not a charm and it is not a decal. It is gel built up with a brush, layer on layer, until it has height. We work with a thick, self-leveling builder gel, pick up a bead on the tip of a small brush, and lay a petal down by pressing and pulling the bead into shape. A five-petal flower is five separate moves, repeated with a cure between petals so the shape holds instead of slumping.
The reason the flower survives daily life is the material rather than any protective top coat. Cured builder gel is flexible. It bends slightly under pressure instead of cracking, so a petal that catches on a door handle gives a little and springs back. We have a flower on the studio shelf that has been knocked against the bench for months, and the petals are intact. What kills a sculpted flower is peeling, not impact, which is why the bond underneath matters more than the flower itself.
That said, there is an honest limit. A tall flower on a long nail is a sculpture you are wearing. If you work with your hands all day, we build flatter petals with a lower profile, and it still reads as dimensional from across a table without being something you notice every time you pick up a mug.
The sheer caramel base
The base is the part nobody photographs and the part we spend the longest getting right. It has to be sheer enough that the natural nail reads through it, yet warm enough to pull the whole hand together. We mix caramel by starting from a soft nude and adding a touch of amber until the colour looks like strong tea held up to a window. Lean it pink and it turns flesh-toned; lean it yellow and it goes the colour of old paper.
Sheer also means the base cannot hide a mistake, so it goes on in three thin coats rather than one heavy one. Each pass lands almost transparent and builds the tone in layers, which keeps the finish even and stops the nail reading flat. The logic is the same as a sheer foundation: many light passes, never one thick one.
The gold butterfly wings
The butterfly wings are the part people assume are stamped. They are painted, freehand, with a fine liner brush and a pot of gold gel that needs stirring every few minutes because the metallic particles settle. Two wings meet at a small body line, and the veining is drawn inside each wing with a single, unbroken stroke per vein.
What makes them work at this scale is restraint. A butterfly painted at the size of a nail could easily look like a children’s sticker if the wings were filled with pattern. We leave the gold mostly open, so it reads as a flash of light rather than a picture of an insect. If you are painting your own, practise the wing outline on a piece of paper first. The veining is easy once the outline is confident and impossible if it is not.
The amber glass charm nails
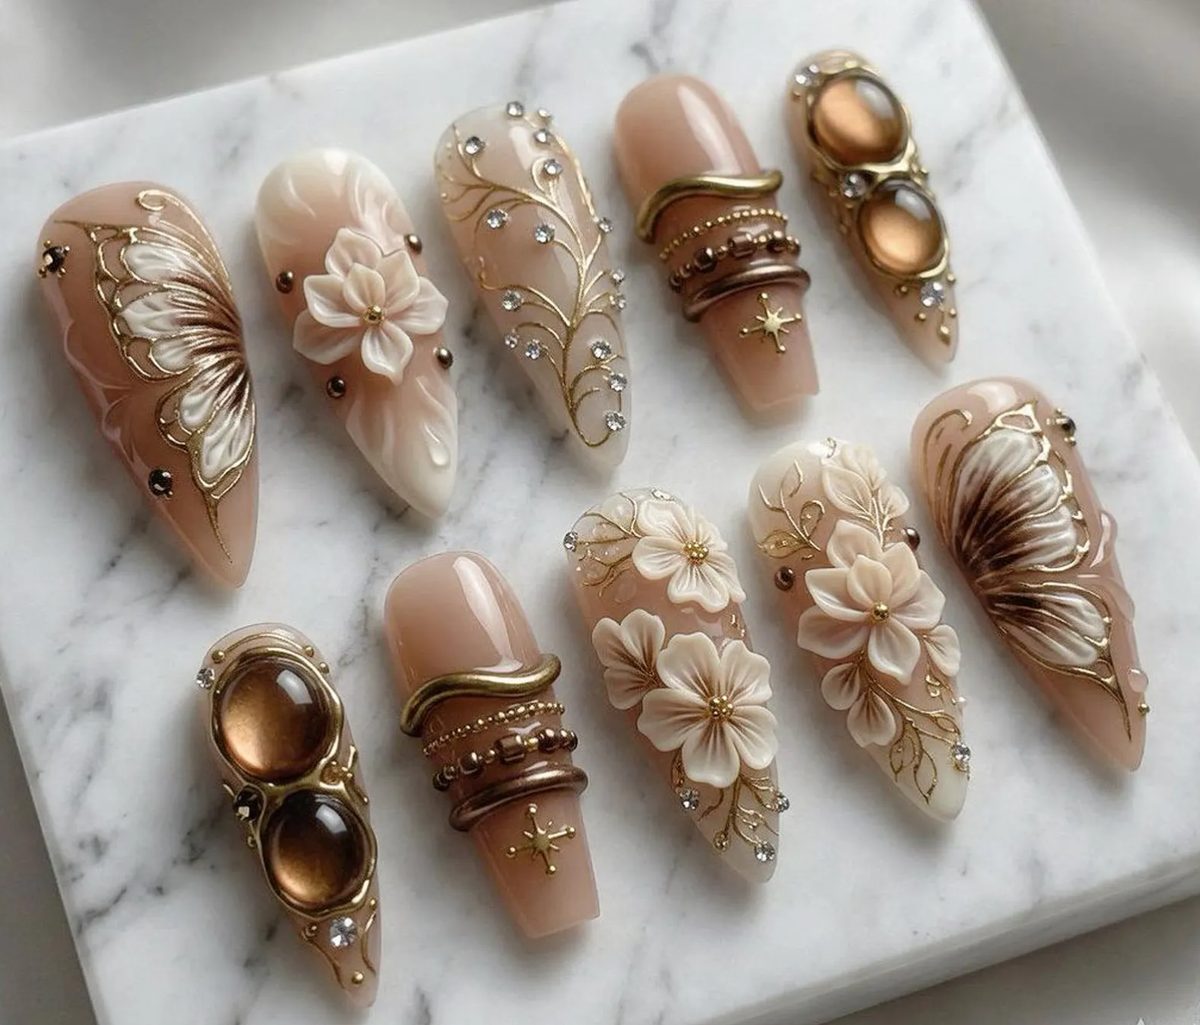
Two nails carry an amber glass charm, one round and one teardrop, each set into a ring of thin gold. The glass is real, which is why these two nails weigh a little more than the others and why they catch light in a way that no resin charm does.
Setting a charm so it stays through three weeks of wear is a small piece of engineering. We build a bed of clear gel on the nail, seat the charm, and pack a thicker gel around the base to create a soft slope rather than a hard edge. A charm with a sharp edge where it meets the nail will pop off the first time something catches under it. A charm with a gentle slope usually outlasts the rest of the set. If you are doing this at home with a rhinestone glue, the same principle holds: build up around the charm, do not just dot glue under it.
Studio pick
A sculpting gel for 3D work. The single most important variable in a handmade flower is whether the gel holds a bead long enough for you to shape it. A sculpting gel that flows too fast gives you a puddle instead of a petal; one that is too stiff will not release from the brush. This is a product where the cheap option is genuinely harder to learn on.
How long it lasts, honestly
On a set worn with a little care, three weeks is normal and four is not unusual. The flowers do not wear out in that time. What happens instead is growth: the cuticle side of the nail starts to show a gap, and around week three the gap is usually what sends the set off rather than any damage to the design.
The failure points, ranked by how often we see them, are lifting at the side walls, a charm catching and rotating, and physical trauma from a dropped object. You can reduce the first, and we match charm beds carefully to reduce the second. Nobody can do much about the third. The full habit list lives in our wear-and-care routine if you want the set to reach that fourth week.
Who this set suits
Brides are the obvious answer, and we build a lot of these in ivory with slightly whiter flowers for weddings. But autumn is where this palette really lives. The caramel base picks up the same warmth as a tan trench, a pumpkin, or a wool throw, and the flowers stop the whole thing tipping into being just another nude. We have painted it for a bride in September and for a customer wearing it to a birthday dinner in November, and it looked at home at both.
It is also a good set for someone who wants length without drama. The almond shape is longer than a short square but soft at the tip, so it reads elegant rather than aggressive. If you like that logic but want something lighter, our stripes and dots sets keep the same almond silhouette with a much simpler surface. And if yours is a more traditional styling mood, the carved details on our jade pumpkin hairpin come out of exactly the same impulse: fine work that rewards a second look.
Studio pick
A thick rhinestone and charm glue. Charms do not fail because the glue is weak, they fail because the glue runs and leaves a thin film. A thick gel-type glue stays where you put it, holds a charm upright while it cures, and gives you a couple of seconds to nudge it straight. We keep a bottle within reach on every charm nail.
If you want to paint it yourself
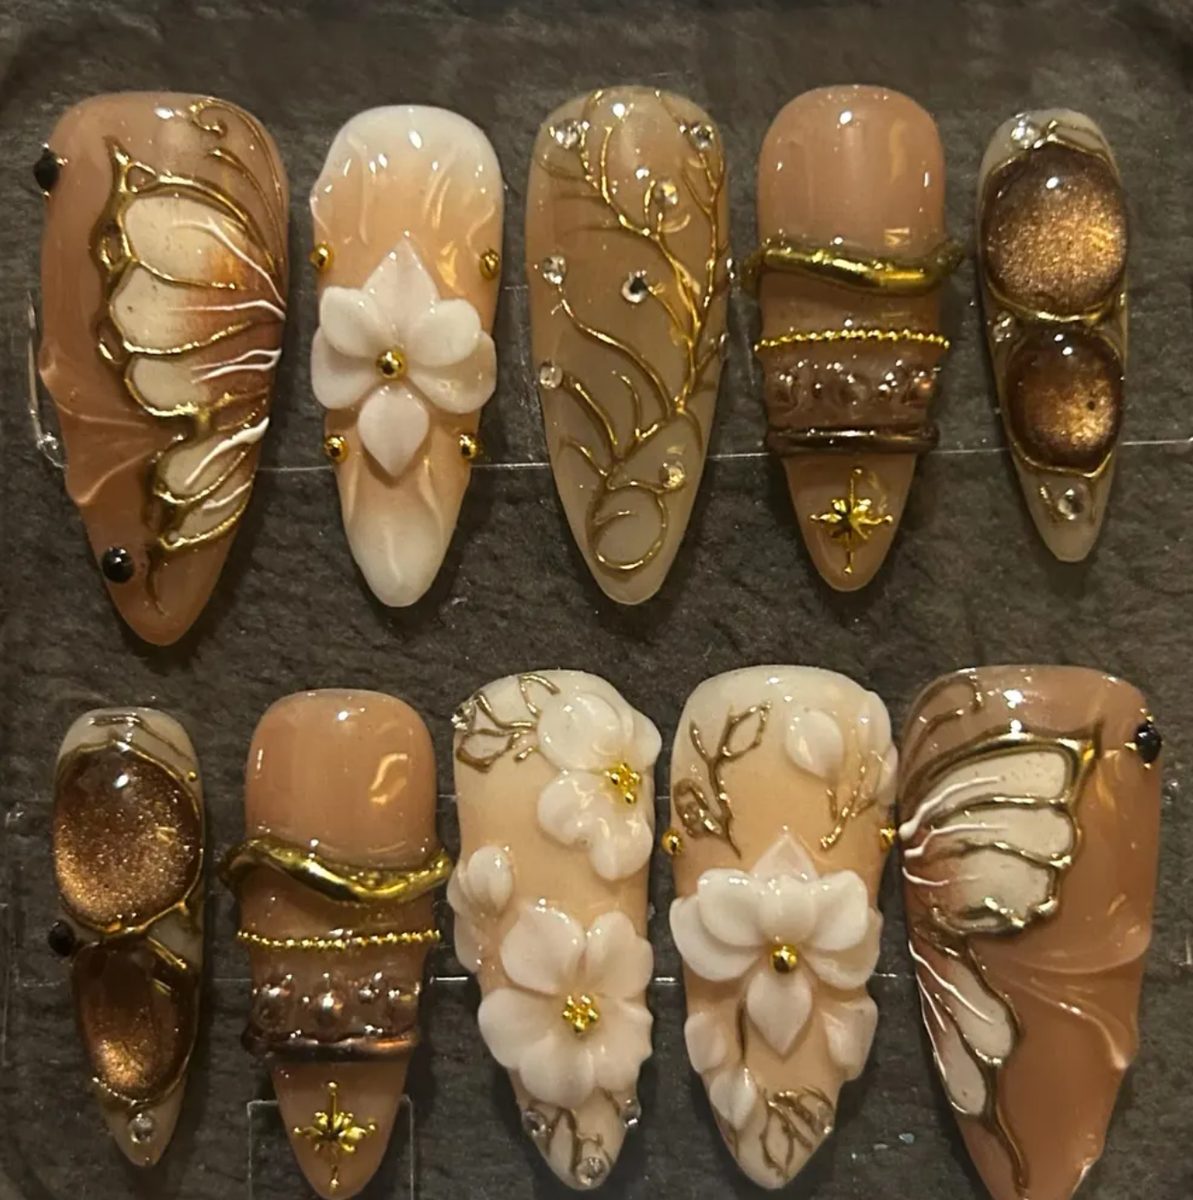
Start with the base. A sheer caramel over almond tips takes ten minutes and gives you the whole mood of the set for almost no effort. Add the gold wings next, because a wobbly wing is far more forgiving than a wobbly flower. Only then attempt the sculpting, and expect your first flower to look like a small blob. Ours did. The second one will look like a flower, and by the fifth you will be placing petals with an actual plan.