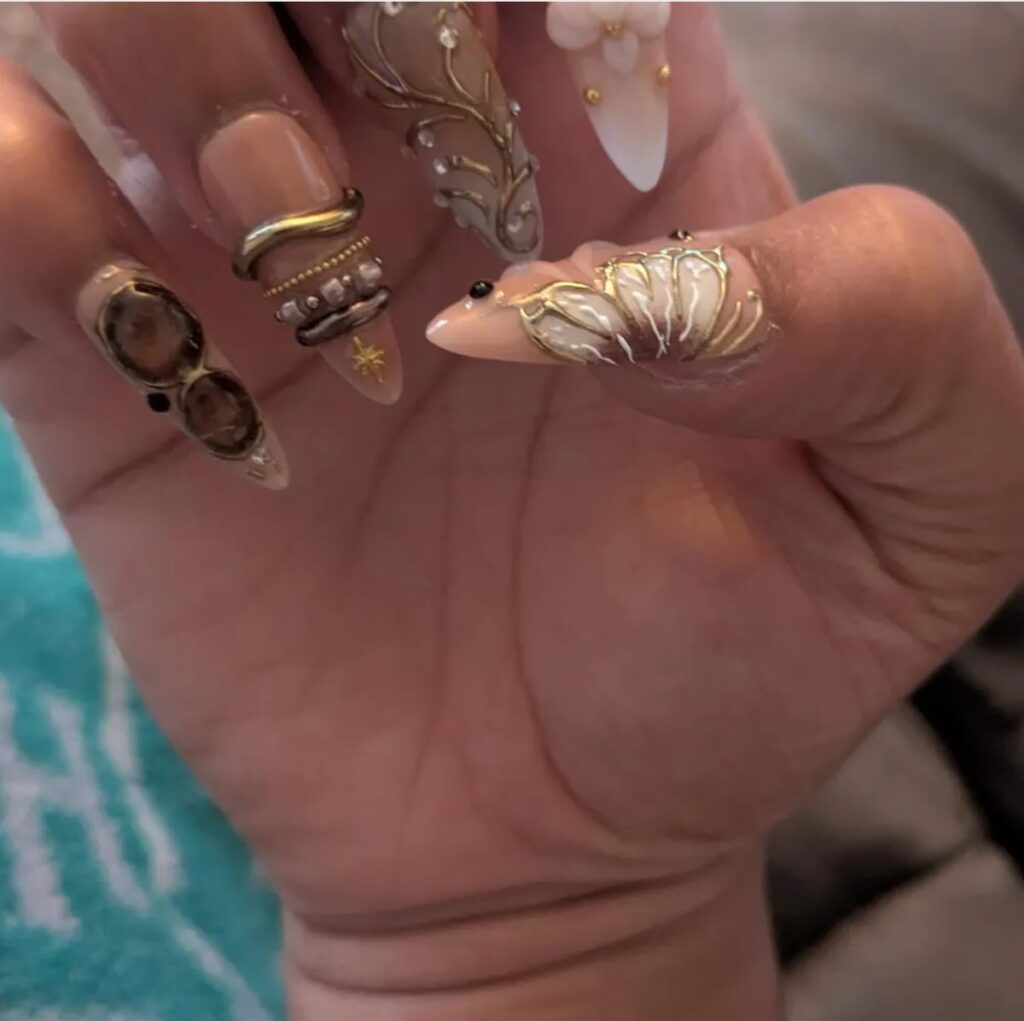
People tell us they cannot wear press-ons because they fall off. Almost always, the set was not the problem. The routine around it was. This is the exact sequence we use and recommend, from the five minutes before application to the way a set is stored and worn again.
Before you read on
As an Amazon Associate I earn from qualifying purchases. Retailer links in this article are affiliate links and cost you nothing extra. We only link to tools we use or would genuinely buy. Full wording on our affiliate disclosure page.
Prep is eighty percent of longevity
Almost everything that decides how long a set lasts happens before the first nail goes on. Skip the prep and the best-designed set in the world will lift inside a week. Do the prep properly and an ordinary set will hold for three weeks without you thinking about it.
The first step is a size check, and it is not optional. Hold each nail against its nail bed before you glue anything. If a nail is too wide and overhangs even slightly, file the side walls until it sits inside your own edges. Our sizing guide covers how to measure and how to file a nail down, and it is worth reading before your first application rather than after.
The second step is dehydration, and it is the one people skip because it sounds fussy. Push your cuticles back gently and then wipe every nail with a lint-free pad and a little alcohol or acetone. Oil and moisture on the nail surface are the enemy of any adhesive, and even a natural amount of hand cream is enough to weaken the bond. Wipe, let it flash dry for a few seconds, do not touch the surface again, and work one hand at a time.
Glue or adhesive tabs, honestly
Both work, but they do different jobs and it is worth being straight about that. Glue gives you days and, done well, weeks. Adhesive tabs give you an evening to a weekend, come off cleanly, and can be removed without any soaking at all. We reach for glue for a full wear and tabs for a single event or a test fit. If you have ever had a set pop off mid-dinner, it was probably tabs doing exactly what tabs do. That is not a failure of the product, it is a difference in what you bought it for.
Studio pick
Nail glue with a brush-on applicator. Brush-on glue lets you control the layer, which matters more than the brand. Too little and the nail lifts at the edge; too much and it takes forever to set and squeezes out around the sides. One even coat across the nail bed, then a light press from cuticle to tip, is the whole technique. Keep the bottle capped and store it upright, because thickened glue cures unevenly and is the quiet reason a good set fails.
Daily habits that buy you a week
Once the set is on, the habits are simple and none of them require you to treat your hands like glass.
- Wear gloves for dishes. This is the single biggest one. Hot water softens the glue bond and long soaking works at the edges, which is exactly where lifting starts. If you are going to ignore one tip in this article, do not make it this one.
- Oil the cuticles, not the edge. Cuticle oil keeps the skin around the nail healthy and stops it from drying and snagging. Keep it off the free edge and the side wall where it meets the press-on, because oil there works against the bond. A brush applicator makes this easy to control.
- Open things with tools, not nails. Ring pulls, staple boxes, stuck lids: use a spoon or a key. A press-on that is being used as a lever is a press-on that is about to leave.
- Type with the pad, not the tip. This is easier on short shapes by design, which is one more reason we usually recommend short for anyone at a desk.
Week by week, what actually happens
It helps to know what to expect, because the natural wear of a set can feel like something going wrong when it is just the set behaving normally.
Week one is the honeymoon. Everything is snug, the design is at its sharpest, and you wonder why anyone ever pays for a salon. Week two is when the first small gaps appear at the cuticle side, a hairline of natural nail showing through as your own nail grows. This is normal and it happens to everyone. It is also the week when a stray side wall might lift if you have been soaking your hands, so keep an eye on the nails you use most. Week three is decision week. The growth gap is visible, the very tips may have worn thin, and the set is still perfectly wearable but no longer fresh. This is the natural end of a three-week set, and it is time to think about removal rather than to push on into a fourth week and risk a snap.
Safe removal: soak, never pry
When you are ready, soak the nails off. Fill a small bowl with warm water and a little oil, or use an acetone-based remover on a cotton pad held against the nail for a minute, and let the bond release. Then gently work the nail free from the side. What you must not do is pry a nail off dry, because the glue that holds a press-on is also strong enough to take layers of your own nail with it, and a lifted, thinned nail takes weeks to grow out. Ten minutes of soaking beats a month of regret. This applies double to any set with charms or sculpted details, where a dry pried nail can also snap the detail you were hoping to reuse.
Storage between wears
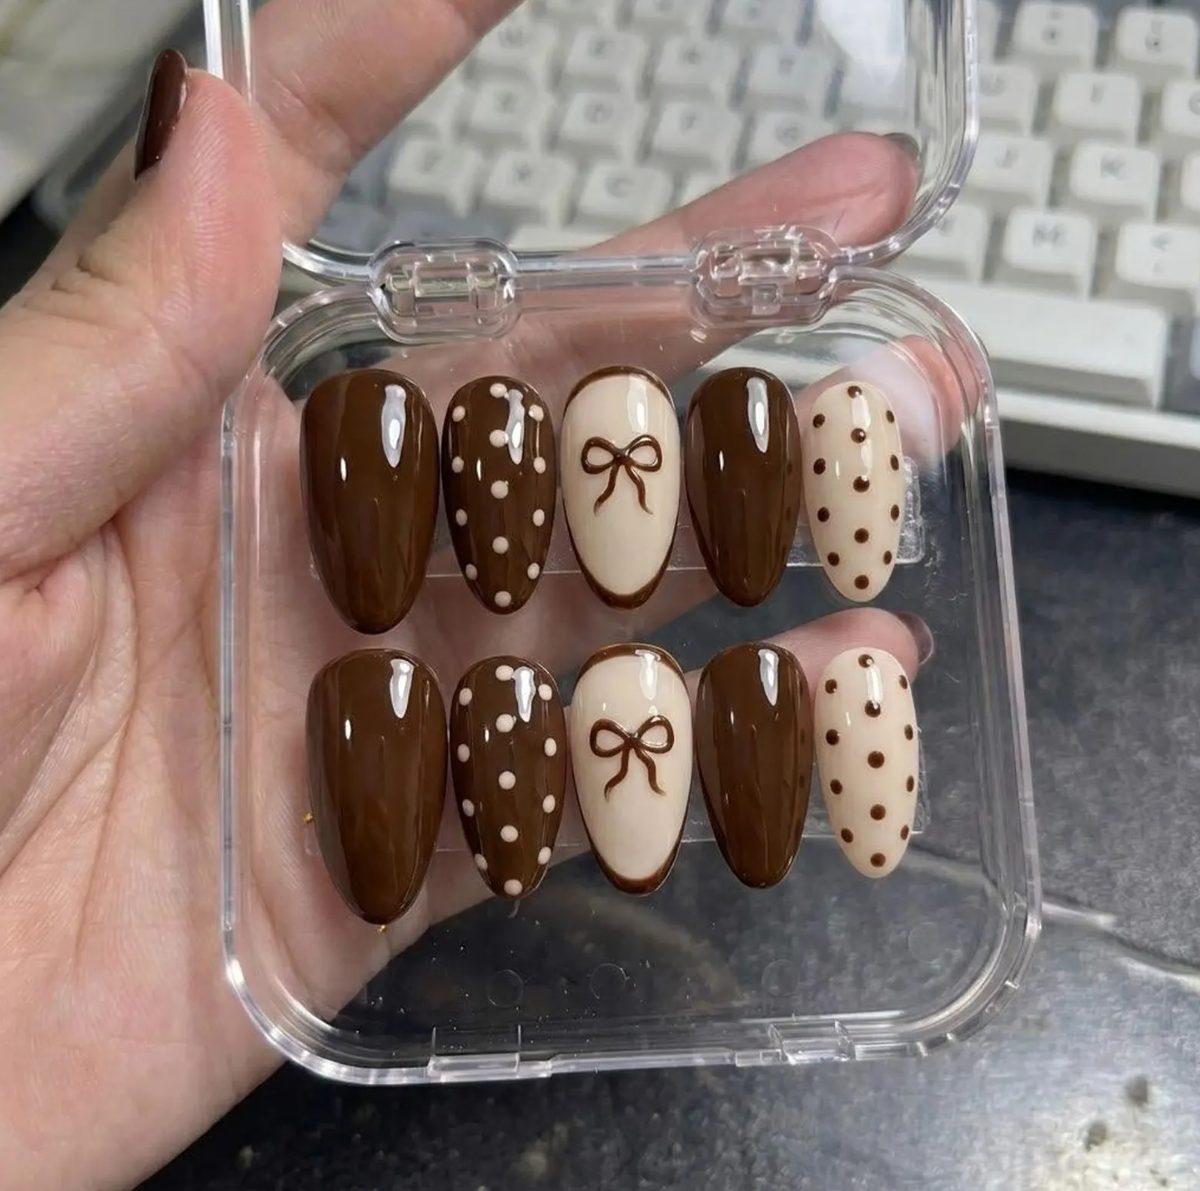
How a set is stored decides whether you get a second wear out of it. Keep the nails flat in a box where they cannot knock against each other, out of direct sunlight, and away from heat. A clear travel box is ideal because you can see the set at a glance and the compartments stop the tips from scratching. Do not tip a set loose into a handbag or a drawer of metal tools, where the free edges will chip and chalky scratches will ruin the finish. After each wear, wipe the inside of each nail with a little alcohol to remove old glue before it hardens, and it will be ready to go again.
Studio pick
Cuticle oil with a brush applicator. The one product that does more for how your hands look than any design. Applied at night and rubbed into the nail and the surrounding skin, it keeps the cuticle healthy so the press-on sits on a clean, even nail bed instead of snagging on dry skin. The brush applicator is what lets you keep it off the free edge, which is the one place you do not want it.
Reusing a set: what we accept, what we retire
A well-made press-on can be worn two or three times, and knowing which sets are worth reusing saves a lot of money. We happily reuse a set that has come off cleanly with the design intact, no lifting of any painted detail, and no chips to the free edge. We also reuse sets where the only issue is slight wear at the very tip, because that is invisible once the nail is on.
We retire a set when the free edge has chipped, when a charm has come loose and cannot be reset cleanly, or when the surface has gone cloudy from being scratched in storage. A cloudy nail never regains its finish, and wearing one next to a set that still shines makes the whole hand look tired. Retire those. It is the difference between wearing a set you love and wearing a set you have settled for, and the second one is never worth it.
The whole routine, when you write it down like this, looks like a lot. In practice it is a few minutes at the start, a pair of gloves at the sink, and a soak at the end. Do those three things and your press-ons will do the part you actually care about: stay on, stay beautiful, and give you three weeks of hands you are happy to be seen with. If you want to see how the sizing half of this works, start with the sizing guide, and if you like a bolder set, the care routine here is exactly what gets a pink leopard stiletto through its best days: see the leopard set.