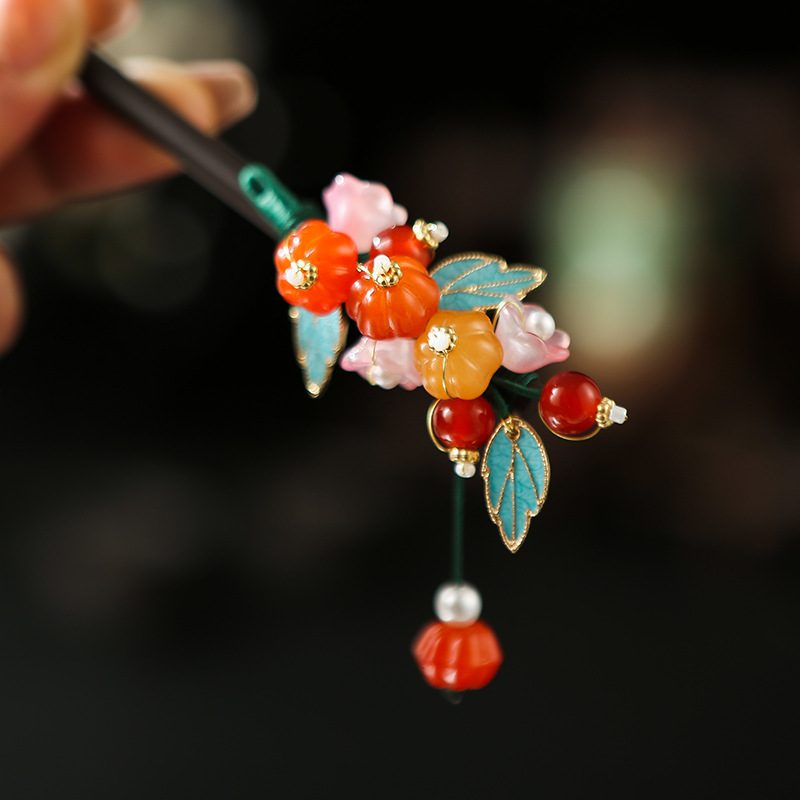
This is the piece that started as a seasonal experiment and quietly refused to leave. A single wooden stick, a few carved carnelian pumpkins, and a tassel that swings when you turn your head. Here is how it is built, and the honest truth about what it will and will not hold.
Before you read on
As an Amazon Associate I earn from qualifying purchases. Retailer links in this article are affiliate links and cost you nothing extra. We only link to tools we use or would genuinely buy. Full wording on our affiliate disclosure page.
It began with a box of autumn carnelian
Every autumn we buy carnelian without really meaning to. It is the wrong way to run a studio, and yet every year the same thing happens: a supplier sends a grader’s box of deep orange-red carnelian, and the colour is so specific, so exactly like the inside of a pumpkin, that we cannot put it down.
The first pumpkin pin was a gift. A friend was getting married in late October, in a small ceremony with a hanfu-inspired dress, and she wanted something for her hair that was not flowers. We had the carnelian. We had enamel leaves left over from a summer batch. What we did not have was a plan, so the first one was built on a stick we cut too long by about a centimetre and a half. You can still see the short one pinned to the studio board, and it is a good reminder that the pieces people fall for are rarely the ones we thought were clever.
By the time the wedding photographs came back, three people had asked where the pin was from. That is usually how it goes. The unglamorous truth is that we do not decide what becomes a bestseller; the person who wears it does.
What actually sits on the stick
Every part of this design earned its place, mostly by being the thing we had on the bench when we were trying to fix a problem.
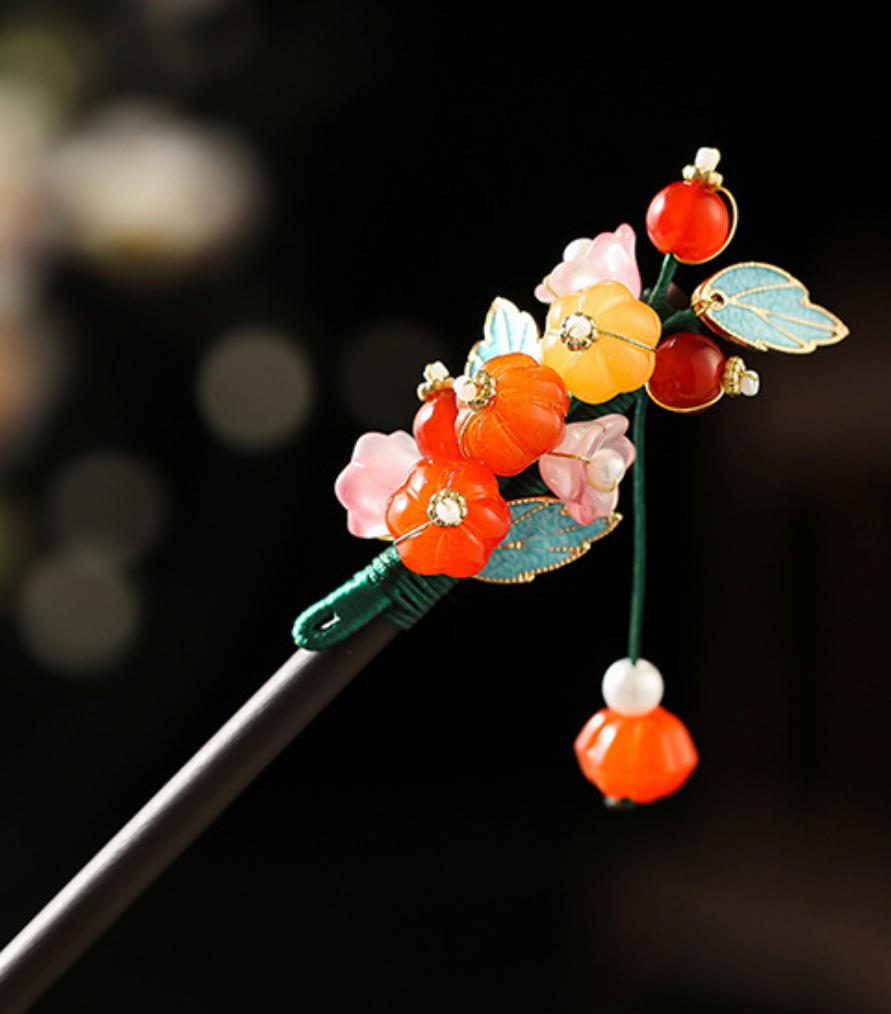
The pumpkins are carved carnelian, not glass. That matters. Each one is a small rounded bead with shallow grooves cut around it and a tiny stem left standing at the top, and because carnelian is a natural stone, no two read exactly the same orange. Some are closer to rust, some a warmer apricot. Held in the hand, the difference is obvious; on a head, it reads as depth.
The pink glass blossoms came in because the brass jump rings between the pumpkins looked empty. We tried seed pearls first and they disappeared. Small faceted glass flowers in a soft pink gave the piece a top note, a little light away from all that orange.
The leaves are jade-green enamel, cold to the touch, with a thin brass rim. They are the reason the piece does not read as purely seasonal. Green against carnelian is one of the oldest pairings there is, and it keeps the pin looking like a small garden rather than a fruit bowl.
The cord wrap underneath is a green beeswax cord, hand-wrapped. It does two jobs: it hides the wire that holds the beads onto the shaft, and it softens the join so the pin never looks like beads threaded onto a dowel.
The pearl is a single freshwater pearl set near the tassel, the small piece of quiet the rest of the design needs.
The tassel is coral, in the old sense of the word — that warm red-orange silk floss you see in traditional hair ornaments, not the colour you would find on a coral reef. It hangs about twelve centimetres and it is the part people comment on, because it is the part that moves.
Building it, step by step
None of this is complicated. It is just fiddly, and the fiddly parts are where first attempts go wrong.
- Start with a plain wooden stick. Sand it smooth, then rub beeswax into the shaft. The wax is not decoration. It makes the stick glide through hair instead of catching and tugging, which is the single most common complaint about cheap hair sticks.
- Wrap the cord. Tie on the green beeswax cord and wind it up the shaft in tight, even turns, pulling each turn snug against the last. This is the slowest step and the one that decides whether the pin looks handmade or homemade. When the wrap reaches the right height, seal it with a dab of clear-drying glue under the last turns.
- Wire on the bead group. The pumpkins, blossoms, leaves and pearl are strung onto thin brass wire, then that wire is bound to the shaft just above the cord, so the heavy end sits where the hair will grab it.
- Attach the tassel. The coral tassel hangs from a small ring at the base. We leave the ring slightly oversized so the tassel can swing rather than being pinned stiff.
- Balance the weight. This is the step nobody talks about. A hair stick has to be heavy at the bead end and light at the tail, or it will tip out of the bun all evening. We test each piece by holding it on a finger and finding the balance point, then trimming the tail.
Wearing it: the low twisted bun
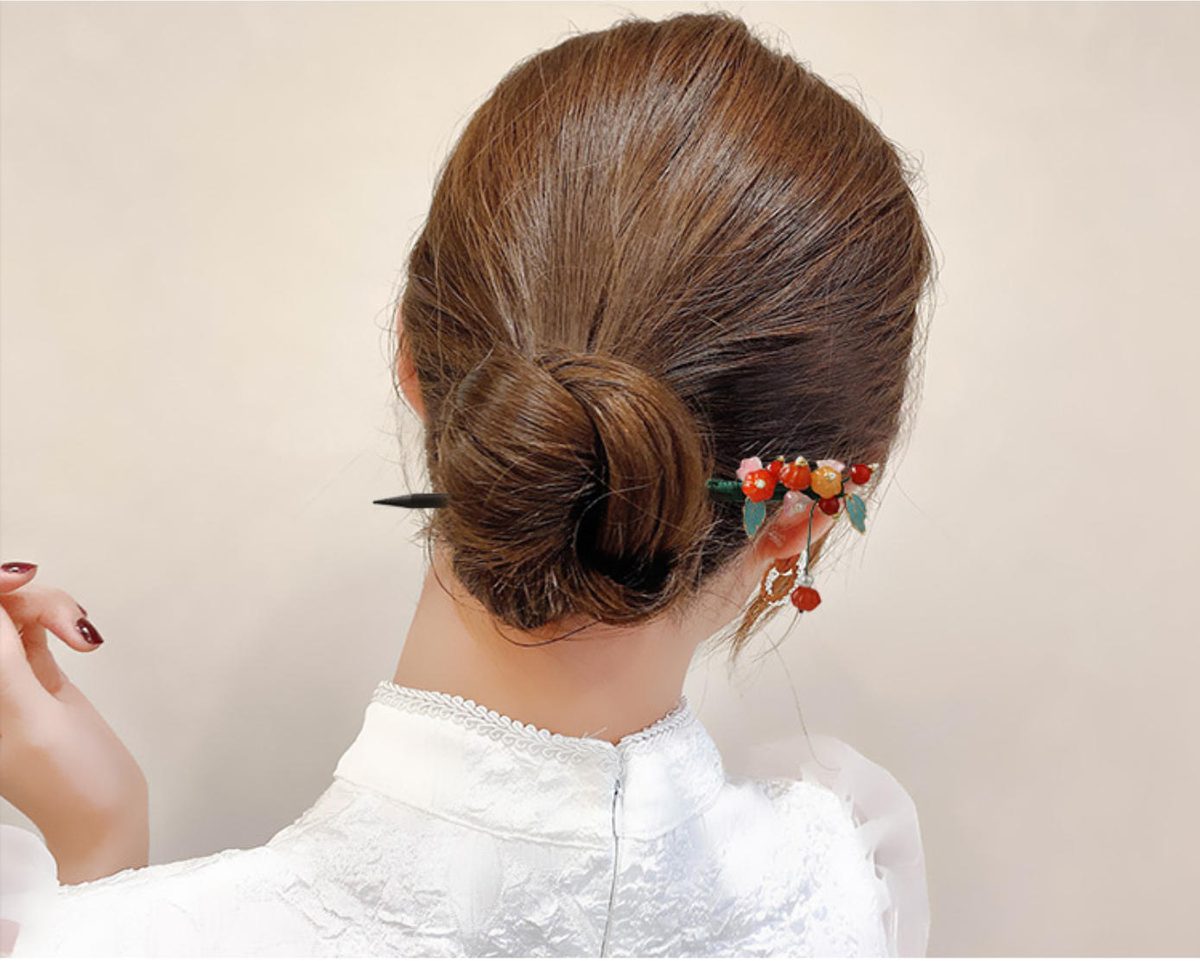
The photograph above shows the style we recommend, because it is the one the pin was designed around. It is not a tight ballerina bun. It is a low twist at the nape, loose enough to look like it happened by accident.
Gather the hair low, at the base of the skull, and twist it upward into a soft rope. Coil the twist against the head and hold it with one hand. Now push the stick in horizontally, angled slightly upward, starting behind the coil and bringing the tip out the other side so it passes behind the twist, not through the middle of it. This is the trick: the stick acts like a shelf. The bun rests on it, and gravity does the rest.
About half an hour of practice and it becomes muscle memory. If you are learning, use a cheap stick first and keep this one for when your hands know what they are doing.
Studio pick
A set of plain hair stick blanks for practising. Buy a handful of cheap wooden sticks before you risk a decorated one. Sand them, wax them, and practise the low bun until the angle feels natural. It is the least glamorous purchase on this page and the one that will save your favourite pin from being dropped on a tiled floor.
Anchoring it so it actually stays
A single stick will hold a loose bun, but it will not survive a windy walk or a day of head-turning. Two habits make the difference.
First, the mouth of the bun matters more than the stick. If the coil is loose at the base, no pin will save it. Twist a little tighter at the very bottom and looser toward the top. Second, add one plain pin. Almost every secure hairstyle we photograph uses a second, invisible pin tucked underneath to stop the stick sliding sideways. Nobody sees it. It works.
What to wear it with
We photographed this one against a soft lace blouse, and honestly that surprised us. The assumption was that a pumpkin pin belonged only with a hanfu or a qipao, and it does look right there — the stick sits beautifully at the collar of a high mandarin collar, where the tassel falls onto the fabric instead of onto skin, and the green cord picks up the green trim of a lot of formal dresses.
But the modern version works just as well, and it is more forgiving. A plain white blouse, a cream knit, even a linen shirt with the collar open: the pin adds one warm colour to an outfit that has none, and because it sits at the back of the head it never competes with a necklace. The rule we have ended up teaching customers is simple. If the outfit already has a strong print at the neckline, wear the hairpin and nothing else. If the outfit is plain, the pin is the whole point.
Will it hold thick hair? An honest answer
Partly. This is the question we get most, so here is the truth rather than the sales line.
For fine to medium hair, a single stick holds all day. For thick, heavy, or very long hair, one stick is not enough on its own — and that is a physics problem, not a fault in the pin. Heavy hair needs either a sectioned bun, so you are holding a smaller coil, or a second matching stick used as a pair. We make them in pairs for exactly this reason. Anyone with a dense bob or long thick hair who tries a single delicate stick and blames the stick has usually just asked it to do a job it was never sized for.
One more honest note: treat the tassel kindly. Hang the pin rather than dropping it in a drawer, and keep it away from the bottom of a bag where keys can fray the silk.
Studio pick
Beeswax cord for wrapping hair sticks. The wax is what stops the cord slipping and stops the finished stick snagging on hair. Look for a true beeswax-coated cord rather than plain cotton, and choose a green that reads as a leaf rather than a lime. A spool lasts for a great many sticks.
Make one, or let us make you one
If you bead already, this is a good weekend project, and the set we paint for our Etsy shop uses exactly the construction described above. If you would rather not, the finished pins are part of the accessories range, and we can adjust the length of the stick or the weight of the tassel for you.
Two of our other pieces pair well with it: the glass grape hair clips are the lighter, more playful cousin for the same low updo, and if you like the idea of carnelian’s deeper red sibling, the garnet and cloisonné bracelet uses the same autumn palette on the wrist. Worn together, they read as one deliberate set.
Whatever you do, practise the bun with a plain stick first. Your hands will thank you, and so will the tassel.